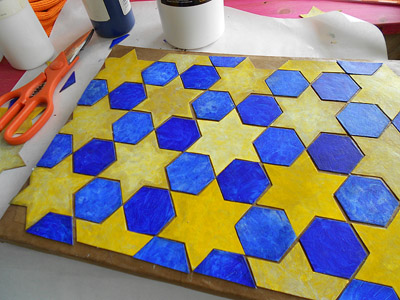
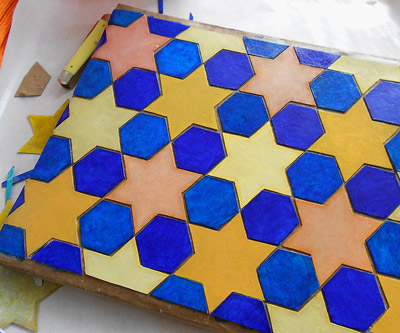
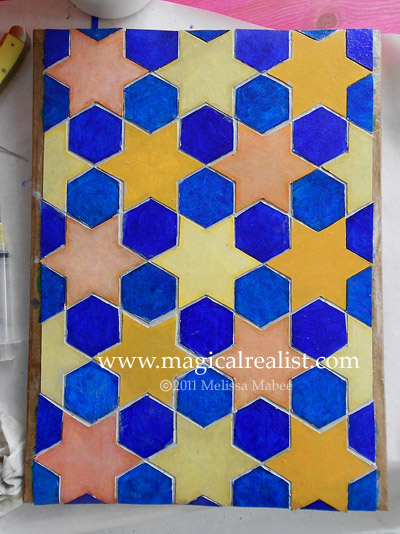
After a decent night’s sleep and plenty of coffee, I was more than ready to finish this project. Here’s where it was, as of this morning:
Not bad. I came up short by three blue hexagons, but that was easy enough to fix. And, with the tiles glued into place, finishing the paint job was quick and easy.
But here’s where it gets stupid. I decided I wanted to add gray “grout,” to make it look more realistic.
Whenever I do this again, it will of course be on a longer timeframe–one that allows the acrylic paint on the tiles to fully cure, and that also allows me to put a coat of protective varnish over the tiles.
As it was, the paint film was still soft, so any paint that got on it immediately embedded itself in the surface. Not being able to wipe stray paint off cleanly meant that the easiest way to add grout–flooding the lines with paint and wiping the excess off with a damp cloth–was impossible.
My choice was either to take an extra day so I could varnish the tiles and let everything cure, or to find some way to apply thick paint to the lines without getting it all over the tiles. Since I wanted to get this thing done, I went with the latter.
But how to do it?
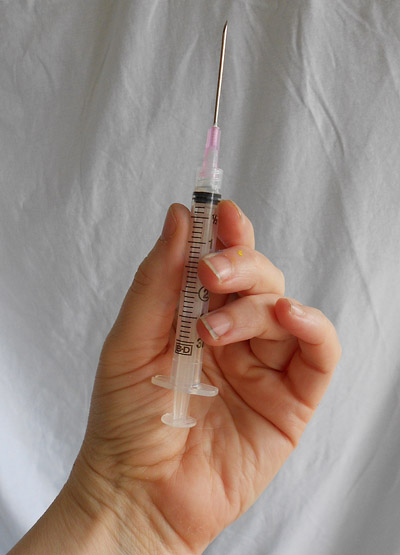
Well, sometimes having an old cat with fucked up kidneys has its rewards:
This is a syringe with an 18-gauge needle, previously used to add B vitamins to IV bags of Lactated Ringer’s Solution (which I then administer, sub-cutaneously, to Elvis). It’s about the size you see in the picture. Since it’s never been stuck directly into a cat, and B-vitamins are harmless, I had no qualms about using it.
I mixed some warm gray acrylic with Golden’s Self-Leveling Gel in a jar lid, filled the syringe, and went to work.
Figuring out the right flow rate–how hard to push on the plunger, and when to pull back–wasn’t as easy as I expected. I ended up with some gray paint where I didn’t want it. But I shrugged it off; I’ve seen plenty of real mosaics with stray bits of grout on the tiles, so I chalked it up to versimilitude. But I still wanted it to look halfway decent.
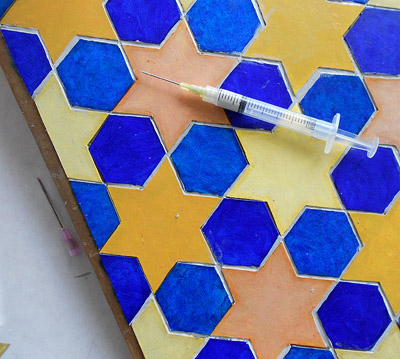
Once I started to get the hang of it, I realized the needle was just too big. It didn’t fit between some of the tiles, and the flow rate was too hard to control. So I tried a smaller, 20-gauge needle (the size I use to administer sub-qs to Himselvis). Much better:
The 20-gauge was still too big to get into the smallest crevices, so I dug into my stash of fucked-up old cat supplies for a standard insulin syringe with a 29-gauge needle. The paint, however, was much too thick; I couldn’t draw it up into the syringe. But by the time I had filled everything I could with the 20-gauge, my back and neck were killing me and I decided to call it done. The missing bits, like the stray smudges of gray, simply make it look old, enhancing the illusion. Or so I tell myself:
I’m satisfied with the result, even if I’m not thrilled with how long it took to make. But, having done it, I now know how to do it more efficiently, and which shortcuts are worth taking. The next time I do it, I already know I can get a much better result in less than half the time.
If I wanted to simplify it further, I’d use either a lighter-weight paperboard (such as the boxes cake mixes, Pop-Tarts, and boxed diners come in), or even cardstock. By painting the background my chosen grout color, and spacing the tiles very close together, I could get away with not applying a grout-like finish at all.
I definitely want to do this again. Crazy as it sounds, I think an entire room covered in this stuff–such as my downstairs half-bath–would be kind of awesome. I also have a ratty old Ikea wardrobe that’s in dire need of a facelift, and I think this would be just the thing for the side panels. So you’ll definitely see more experiments with faux mosaics here.
Next week’s Trash Day project: Avocado netting. It’s green plastic netting that contains five avocadoes, when bought at Costco. No, I don’t have a photo yet, but I think we’ll all get by just fine without one until next week.

