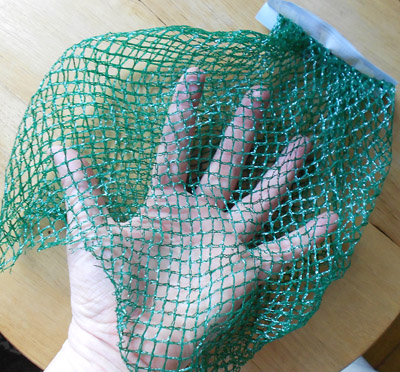
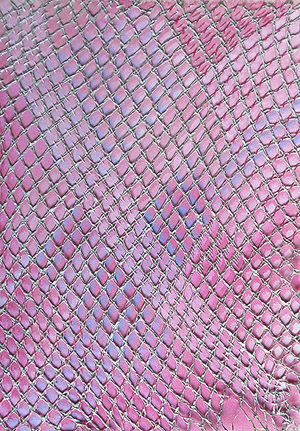
I buy avocadoes at Costco, in a green net bag that holds five avos. I usually go through a bag a week, so I’m always playing with that net bag, stretching it this way and that, wrapping it over things to see what I might be able to do with it. But I’ve never actually done anything with it. So this week’s Trash Day project? Remedy that situation.
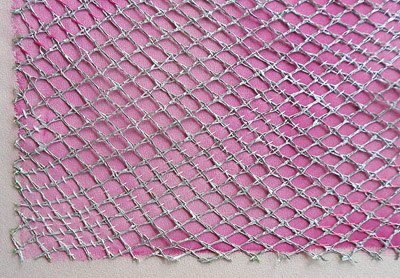
There are a lot of possibilities for this material, but I decided to keep things simple for this first experiment. Since the netting is very stretchy, and won’t stay in place on its own, I had to stabilize it. So I used duct tape to stretch the netting on the backside of an old canvas, then rubbed acrylic paint into it, on the assumption that if I worked enough paint into the mesh it would hold its shape. Fortunately, this assumption turned out to be true; once the paint was dry I cut the netting free from the frame and it was perfectly behaved.
I did one in silver and another in cadmium red medium, and of course neglected to get an in-progress photo. Oh, well.
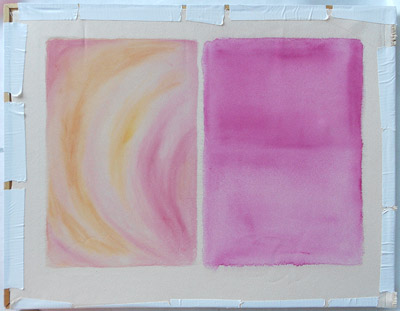
As a support, I scavenged a piece of Caucasoid Beige polyester fabric from my stash. It’s a medium-weight fabric referred to as “peachskin,” because the right side has a fuzzy, suedelike nap to it. Like all polyesters, it’s horrid to sew and worse to wear, but the “wrong” (non-fuzzy) side is nice to paint on in acrylics.The best part? Since it’s so yucky, it shows up as yardage in thrift stores all the time, or as last-chance bargain fabric for a couple of bucks a yard.
As with the netting, I used duct tape to fasten the fabric to stretcher bars, then used acrylic washes to establish backgrounds:
(One thing about painting on polyester: it often resists water, especially tightly-woven fabrics such as peachskin, gabardine, or microfiber. This means it also resists acrylic paint until you’ve built up a couple of thin layers. Before adding any paint, I dampen the fabric with a large brush loaded with water–much as I would a sheet of watercolor paper before applying a wash–and use the brush to work the water into the fibers. For a larger project, a spray bottle really helps.)
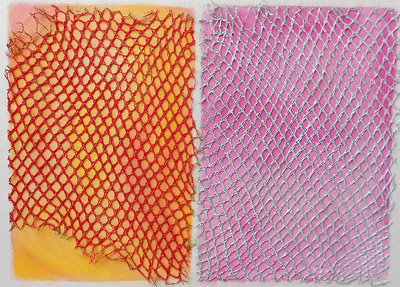
Once I had my netting and my support ready, the question was how to attach the former to the latter? In this case, I think I could have “glued” the netting in place by embedding it in lots of thick paint. But the easiest way, I decided, would be to stitch the netting to the fabric. Besides, somehow, over the years, I’ve accumulated an entire shoebox full of embroidery floss in different colors, and any project that helps me use it up is a winner in my book. So stitchery it was:
On the pink and silver one, I experimented with different stitch patterns, and used different shades of pink embroidery floss. The effects were more subtle than I wanted, but given my time constraints (as well as this week’s bodily limitations), I decided to be satisfied with it and move on.
I used matching red embroidery floss to stitch the red mesh to its yellow background:
Hand-stitching on painted fabric, I should note, is a pain in the rear. The paint clogs the weave, making it difficult to push the needle through. It wasn’t so bad at this stage, with only one or two thin washes of paint, but it was still harder than it would have been on raw fabric. So if I was going to add more paint, I was either going to have to do most of the stitching first, or limit the amount I did later–at least if I wanted to spare my hands.
And I followed this line of reasoning with the pink one, adding only a bit of silver stitching after I’d painted it:
I called it done because–well, frankly, I was getting bored with it. I learned what I wanted to from it, recognized that it wasn’t going to be particularly strong as a piece of art, and decided it was time to quit. One thing I did get out of this piece, for future reference: when stretching the mesh, arrange the lines in a more pleasing way before adding paint. It’s possible to get much more graceful curves from this material, and this piece would have been much better had I slowed down and paid more attention to manipulating the mesh first.
I started to add more stitching to the red one, but my fingers were giving out and my neck was starting to stiffen up again. As with the pink one, I decided to take what I’d learned and call it a day. I do sort of like this one, however, at least as a beginning for something more complex. So don’t be surprised when, some day, I dig it out, add more trash, and finish it.
Next week’s Trash Day project:
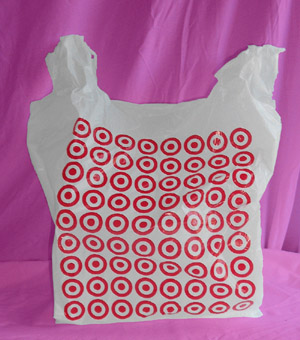
I’m taking it easy this coming week, and need a project that won’t put any further strain on either my neck or my hands. So I have big plans for this Target bag.

